What artist/crafter doesn’t love Christmas?
Last Christmas, learning to hook was on my mind and, for me, the season was like candy to a child. I looked very closely at every possible Christmas mat/rug/decoration and made up my mind to do some ornaments this year. Its easier for me to make time for something that is committed. So, I committed to making a few for our church’s annual Christmas bazaar.
As was soon discovered, there are myriad approaches so I came up with a plan that made sense to me and tried to allow enough time to make mid-course corrections.
I wanted a nice big pattern to work with, knowing I could easily cut them apart after they were done.
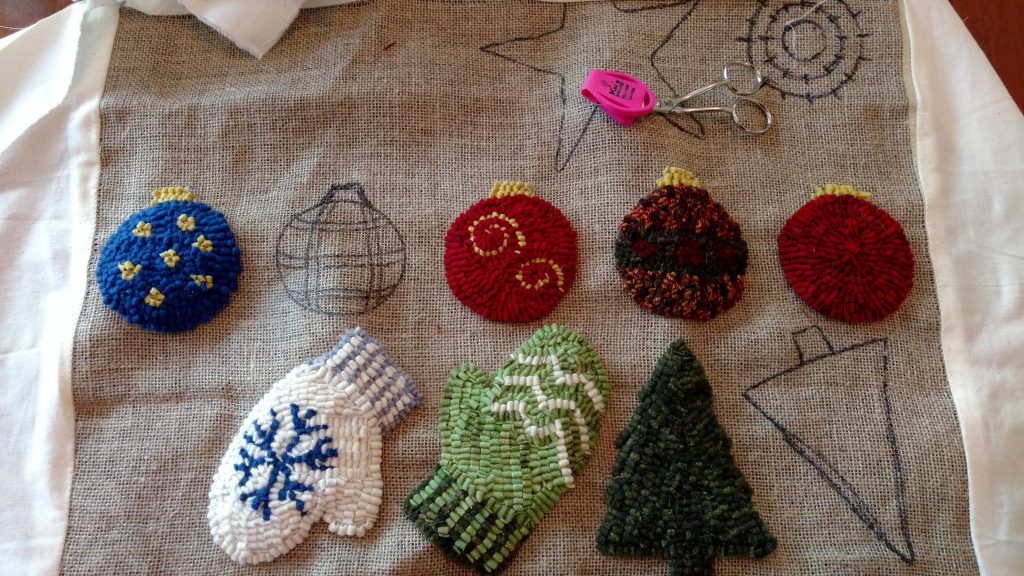
I used a glass to draw the circles and just free handed the other items on the linen. You can tell the star is out of whack and eventually, got cut from the line up. On a positive note, I used the space in the upper left to draw a couple of stockings.
We all know what I did then. 😉
They were great little items to hook when I was between other projects or just didn’t feel like thinking.
Now, this is where it gets interesting.
Finishing them up
Using liquid adhesive, get as close to the hooking as you can, including the sides of the hooked rows. The adhesive I use only takes about five minutes to dry. It dries clear and pliable. Wonderful. Then, I cut the ornaments into individuals, leaving about a half inch around them, where it was possible. You can tell a few of them got hooked awfully close together.
I tore matching pieces of wool into half inch strips for the hangers. They were then glued to the back of the pieces. The backing pieces were cut a little larger too.
With the ornaments laying face down, I ran a bead of adhesive around the very edge and kind of ‘smushed’ (pardon the technical jargon) it in toward the middle because i didn’t want it to bleed out the side. The backing was immediately laid on it. Just use your hand to compress it firmly. After about five minutes, they were dry enough to cut out. Cut as closely to the hooked edge as possible, being careful to hold the hanger back so it doesn’t get trimmed by accident. Here’s a photo of the backs after trimming.
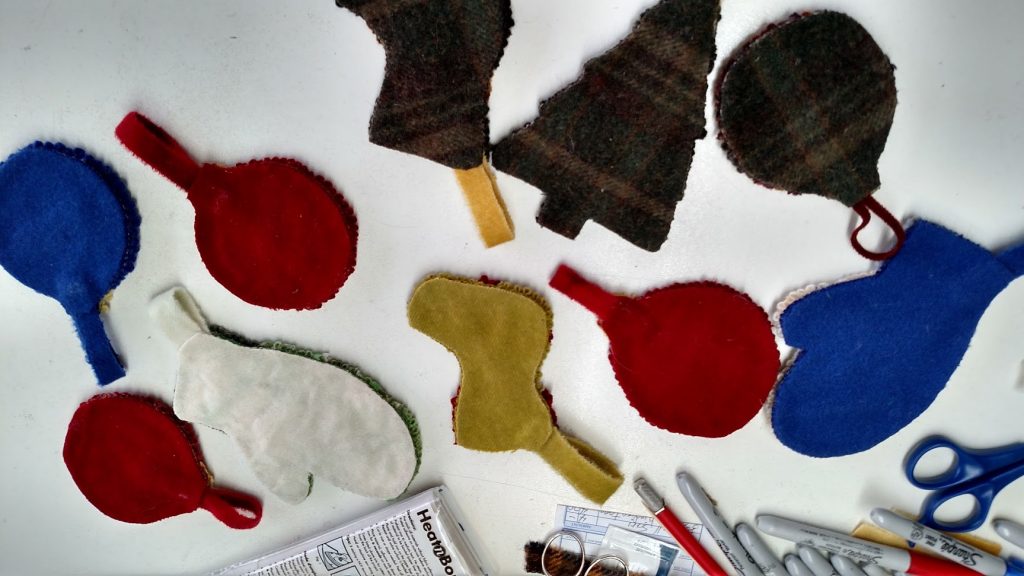 Two things, wouldn’t a plaid or paisley, any pattern, have looked better on all of them? And, don’t let the heat-n-bond fool you. That’s one that didn’t work.
I read about three possible ways to finish the edges of small projects.
- One involved hot gluing a worm around the edge. Too fussy. Hate the strings. Hate getting burned. Didn’t think it would give a good look.
- Next involved sewing around all the edges. I was up for that but couldn’t imagine a way to sew it that would hide the linen edge. It wasn’t a huge deal for the lighter ornaments but for the dark ones, the linen really showed.
- Final choice I didn’t like at all but tried it out of desperation. Of course, it worked like a champ!

Sharpie Permanent Markers. I couldn’t believe it either but it just knocks the edge (no pun intended) off the bright linen. You don’t even see it.
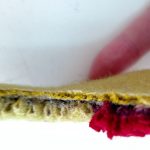
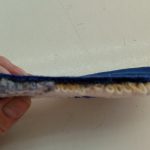
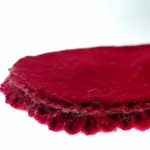
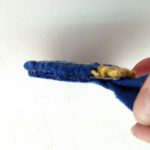
And now, their final close-ups.
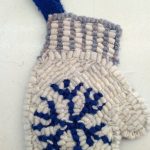

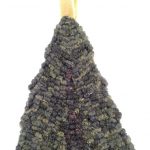
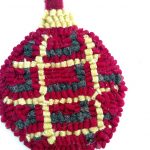
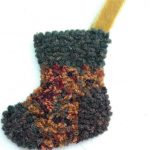
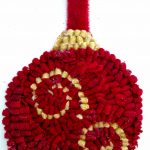
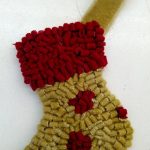
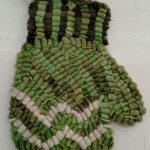
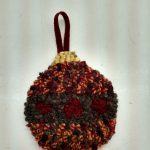
Do you have another approach? I’d love to hear your ideas for a better way. If there is something that isn’t clear, please feel free to get in touch with me.
Happy Hooking!
And, Merry Christmas!
Hi Sharon
Thanks so much for this primer-can’t wait to try it! I was wondering which liquid adhesive you use? Thanks
Kathy
You are welcome. Glad it helped. I used Bish Tear Mender. Good luck!
Thank you for idea of using liquid adhesive to get as close as possible to the hooking. I like the idea that it is pliable. I have mittens all hooked and this gets me motivated to finish them and hang as ornaments on my tree.
Wonderful Carolyn. Glad this was helpful.
Let us see your mittens when you get them finished!